

Key Takeaways
Why caulk fails so quickly
A tube of caulk costs a few dollars, and the job looks finished in an afternoon. So when that fresh bead starts cracking before the first frost, it feels like a product failure. Usually it is not. The caulk fails because of what happened before it went on, what product was chosen, or how it was applied. Understanding those causes is the fastest way to avoid repeating the cycle.
A poorly sealed home loses conditioned air through gaps around windows, doors, and penetrations. That energy loss adds up on monthly utility bills. Weatherproofing your home before cold months arrive covers the full scope of sealing work, but getting the caulk step right is where many homeowners stall.
Surface preparation: where most jobs go wrong
The bond between caulk and a substrate depends entirely on surface condition. Grease, dust, old paint, soap residue, and especially moisture all prevent adhesion. Many applicators wipe a surface quickly and consider it ready. That is rarely enough.
Old caulk is a particular problem. Applying a new bead directly over an existing one may look clean, but the new caulk bonds to the old material, not the substrate. When the old caulk shifts or deteriorates further, both layers peel together. Full removal with a caulk remover tool or a sharp utility knife is the correct starting point.
Temperature and humidity at application time also matter. Most caulk formulations need surface temperatures above 40 degrees Fahrenheit and low moisture to cure correctly. Applying on a cold, damp October morning and expecting a weather-tight seal by December is a setup for failure.
Do not caulk over mold or water-damaged surfaces
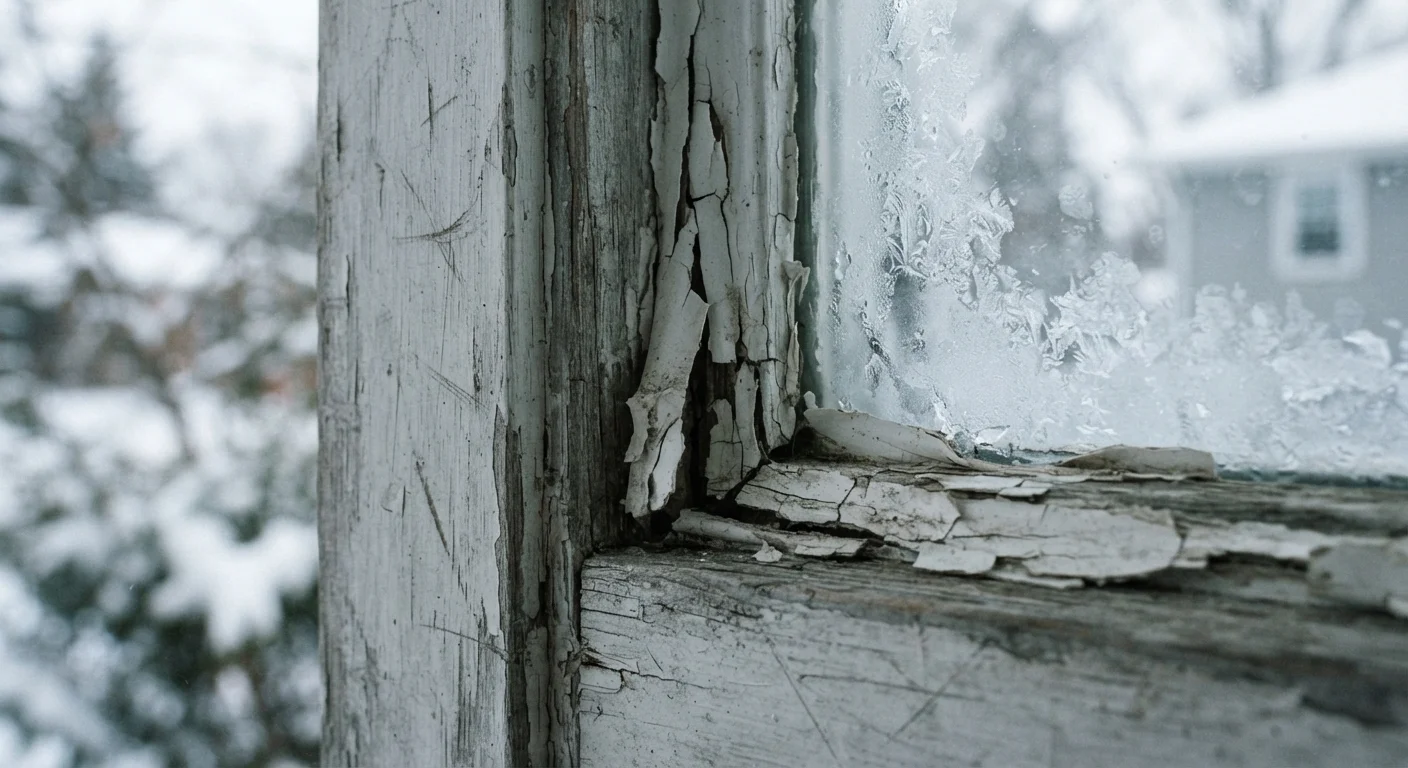
If the area around a window or door shows signs of mold, rot, or active moisture intrusion, applying fresh caulk only traps the problem. Caulk is a surface sealant, not a structural repair. Address the source of moisture and replace any damaged material before sealing. For significant rot or structural concerns, consult a qualified contractor.
Choosing the right caulk for the job
Caulk is not a single product. Paintable latex caulks work well for interior trim gaps but have limited flexibility and poor UV resistance. They shrink as they cure, which is manageable indoors but creates open gaps at exterior joints subject to thermal movement. Silicone caulk bonds strongly to non-porous surfaces like glass and metal and handles wide temperature swings, but it cannot be painted and does not adhere well to wood without a special formulation. Siliconized latex (sometimes called "painter's caulk with silicone") sits between those two and is often the practical choice for exterior wood window frames and door casings.
Using whichever tube is on sale without reading the label causes a mismatch between product properties and job demands. An interior-rated caulk on an exterior joint will absorb moisture, lose elasticity, and crack before a full winter cycle passes.
Application technique errors that cost you
Even the right product on a clean surface can fail if the bead is applied incorrectly. The most frequent technique errors are overfilling, skipping tooling, and cutting the tip opening too wide.
A caulk joint should be no deeper than it is wide, and no wider than about three-eighths of an inch for most residential gaps. A joint that is deeper than wide tends to cure on the surface while remaining soft underneath, leading to center-pull cracking. Backing rod (a foam insert available at hardware stores) fills deep gaps before caulking so the bead maintains proper geometry.
Tooling the bead with a wet finger or a caulk tool within a few minutes of application presses caulk into the joint for full contact and creates a concave profile that sheds water. Skipping this step leaves a convex surface that channels water into the joint rather than away from it.
Cure time varies by product and conditions. Most latex formulations need 24 hours before rain exposure and longer before temperatures drop near freezing. Caulking on a Friday afternoon before a cold weekend does not give the sealant time to develop its full bond strength.
Getting a longer-lasting result on a budget
The practical path to caulk that lasts through multiple winters does not require buying the most expensive product. It requires matching product type to location, preparing the surface properly, and following cure time guidance on the label.
Buying a mid-range siliconized latex for painted exterior wood joints and a 100-percent silicone for non-porous surfaces like metal or tile costs only a few dollars more than a single all-purpose tube, and the split approach avoids the compromises that come with one-size-fits-all products.
The same attention to preparation that makes a caulk job last applies to other seasonal home maintenance tasks. A room-by-room weatherproofing checklist can help prioritize where to focus time and materials before temperatures fall. Families who also track seasonal vehicle maintenance may find similar preventive logic in a seasonal car care checklist, where small preparation steps reduce larger repair costs later.